Tuesday, March 29, 2016

Brussel Sprouts Masala


Brussel sprouts is a vegetable that belongs to the cabbage family. It is low in calorie and great vegetable with lots of  fiber. It supposedly also has a lot of cancer protective effects which are fully not know.

They look like tiny cabbage and are usually eaten steamed by the people outside India. When I first cooked them in UK, I cooked like a cabbage thoran/ poriyal with moong dal and coconut. I have always prepared it that way and my family likes it. I wanted to give a little twist and tried a masala version and trust me, it tastes so good.

You can add garlic or any other spices you want including peanuts and will make a great side dish to go with rice and chapathi.
So here is the recipe.

Get Ready


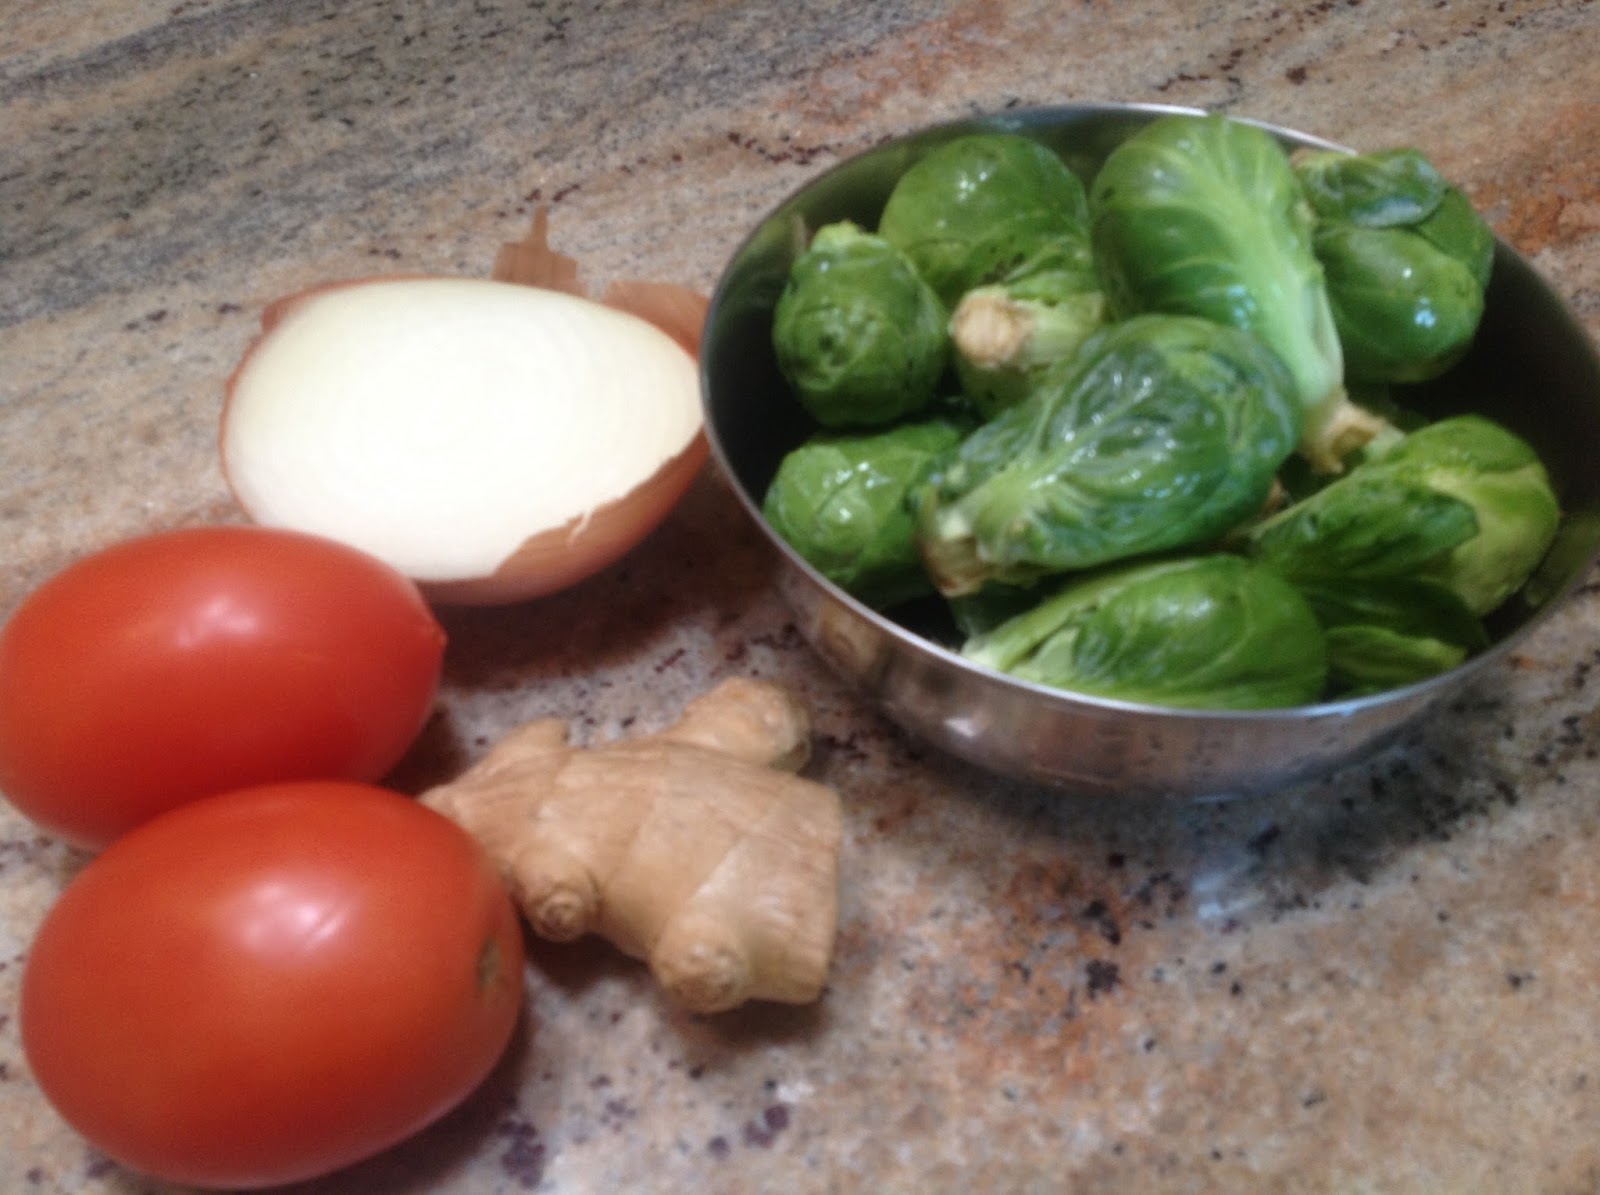
  • Brussel sprouts 10- 12
  • 1/2 of a large onion diced
  • 1 tsp samabr podi
  • 1 tsp coriander powder
  • 1/2 tsp saunf powder / sombu podi ( optional)
  • A pinch of amchoor powder ( optional)
  • 1/4 tsp asafotida/ perungayam
  • 1/4 tsp turmeric powder
  • salt to taste
  • 2 tbsp oil
  • 1 tsp mustard seeds
  • 1 tsp urad dal
  • a few curry leaves


To Grind:


  • 2 inches ginger, peeled and cut
  • 2 large Roma tomatoes chopped
  • 1 large green chilli


Go:


  • Wash the brussel sprouts well to remove any dirt. Quarter them lengthwise and set aside. While cutting, some of the leaves may fall out, but that is ok.

  • Grind the  tomatoes, ginger and green chilli to a puree and set aside.


  • In a pan, add oil and do tadka with mustard seeds, urad dal, curry leaves, asafoetida and turmeric powder.


  • Add the onions and saute` till they are translucent.

  • Add the tomato puree and the powders ( sambar,coriander, saunf, amchoor) to the puree. Cover and cook till the raw smell of tomatoes are gone, about 5- 7 mins. Check your spices and add more spices as you need.


  • Add the quartered sprouts, salt to taste and toss them well in the cooked tomato masala.

  • Cover,reduce heat and cook by sprinkling water as needed till the sprouts are cooked. Don't over cook them, they should have a slight crunch to them.

  • Once the sprouts are cooked, uncover the lid and cook stirring in between till the dish is little dry.

  • Turn the heat off and serve.


Wednesday, March 23, 2016

Mambazha koottan / Mango Curry


Here I am today with a very easy Kerala style koottan. It tastes wonderful with rice, idli, dosa. The addition of fresh coconut with roasted fenugreek seeds gives a wonderful aroma. The key to add flavor to this dish is the roasting of the fenugreek seeds to the right perfection. If you roast them too little or too much the koottan will taste bitter or burnt.


Get Ready


  • 1/2 cup chopped mango with skin
  • 1.5 cups water
  • pinch of turmeric
  • 1/4 tsp asafoetida
  • 1/4 tsp vendhayam / fenugreek seeds
  • 1/2 tsp ulutham paruppu / urad dal
  • 1/4 tsp coriander seeds/ dhaniya
  • 1.5 red chilli
  • 1/2 cup grated coconut
  • 1tsp oil
  • 2 tbsp beaten yogurt ( whisk regular yogurt, sour one works the best)

To temper


  • 1/2 tsp kadugu/ mustard seeds
  • 1/4 red chilli
  • few curry leaves
  • 1/2 tsp coconut oil

Go

  • In a pan add a tsp of regular oil, add the vendhayam, dhaniya, red chillies and roast them on medium flame till the the vendhayam get dark brown or pops. turn the heat off and set it aside to cool.

  • Once cooled, add the grated coconut, a little asafoetida, a little water and grind it to a smooth paste in a blender. set aside.


  • In a vessel, add 1 cup of water, the chopped mango, turmeric powder, salt and cook till the mango is soft.


  • Add the ground coconut paste and the beaten curd. adjust salt as per taste.
  • Add a little water if your koottan is too thick.

  • Let it cook till the koottan starts frothing in the sides.
  • Remove from heat.
  • In a small pan, add the coconut oil and do the tempering with mustard seeds, curry leaves and red chilli and pour it on the koottan.


Mambazha koottan is ready to be enjoyed!

If you use raw mango add a little jaggery as it it will enhance the taste. One can use, small onions, drumstick, squash, winter melon to make this koottan

Friday, March 18, 2016

Pizzadilla


"Pizzadilla" Cool name isn't it? I know you all are rolling your eyes!

The first time I heard and tasted  something called "pizzawich" was at a joint called "Which wich" in Charlottesville, 2011. It was such a simple thing to make but the name sounded so cool that my son then 11 used love them a lot.

I have made pizzawich so many times and my kids love them! So this time I made pizzadilla, pretty simple right.

If you have kids that likes red sauce pasta and cheese, just go straight to the kitchen to make these!
This is a great food to cook with your kids or when having play dates. My daughter loves to spread the sauce, sprinkle cheese etc. She feels like a big grown  up chef, making them and eating them as well.

Get Ready:


  • Medium Flour tortillas
  • Pizza/ pasta sauce
  • grated cheese ( I had colby and montery jack)
  • olive oil for brushing


Other options include, chopped red onions, bell peppers, olives, mushroom, pine apples etc etc.

Go:


  • Heat a skillet
  • Spread pizza/ pasta sauce on a flour tortilla. sprinkle cheese. fold the tortilla over


  • Brush with olive oil and cook on both sides, pressing down with a spatula till the cheese is ooey gooey and the tortillas are golden brown. Cut them into triangles with a pizza cutter/ knife and serve.


  • Serve with sour cream, salsa or more pizza sauce for dipping.
You will be the super cool mom if you do this on a play date!

Wednesday, March 16, 2016

Sabudhana Tikki / Javvarisi Vadai


Packing a variety of healthy vegetarian school lunches is hard, especially if your child is picky. I am trying to identify things that would taste good in the afternoon and easy to prepare. I had once bought a pack of sabudhana tikki, of course the frozen one from Indian store and my daughter liked it. They were a little spicy for her. I made them at home toning down the spices and we had a healthy snack/ lunch dish that she enjoyed. They may not be as crispy for school lunch, but i don't think my daughter cared for that. Her lunch box came clean and I am happy.


Get ready
  • 1/2 cup sabudhana/ tapiocal pearls/ javvasrisi
  • 1 small green chilli chopped
  • 1 tsp grated ginger
  • 2 tbsp peanuts powdered
  • 1 small potato boiled, peeled and mashed
  • 1 tbsp chick pea flour/ kadalai mavu
  • 1 tbsp chopped cilantro
  • salt to taste
  • Oil to deep fry

Go

  • Wash and soak the sabudhana in water for about 1-2 hrs. drain the water completely and set aside. I used the one available in Indian stores, not the one in chinese stores.
  • Add the mashed potatoes, peanut powder, green chilli, ginger, slat, cilantro to the sabudhana and mix well till everything is well incorporated.
  • make small tikki or flat discs.
  • heat oil in a pan on medium heat. Once the oil is hot add the tikki's and fry them in batches till golden brown and cripsy.
  • Serve hot with ketchup for evening snack or school lunch box


Friday, March 11, 2016

Stuffed Karela


During our morning walk, some of my friends were talking how good the stuffed karela they made had turned out. I was very intrigued by it and asked my friend for the recipe. She mentioned just using simple masala powders but addition of saunf ( sombu, fennel ) and amchoor was very exciting to me. I have always prepared karela in a very simple way with onions, tomatoes and they still had some bitter taste to it. I searched on line for some recipes and found this one Here. I pretty much followed the recipe except for some minor tweaks.

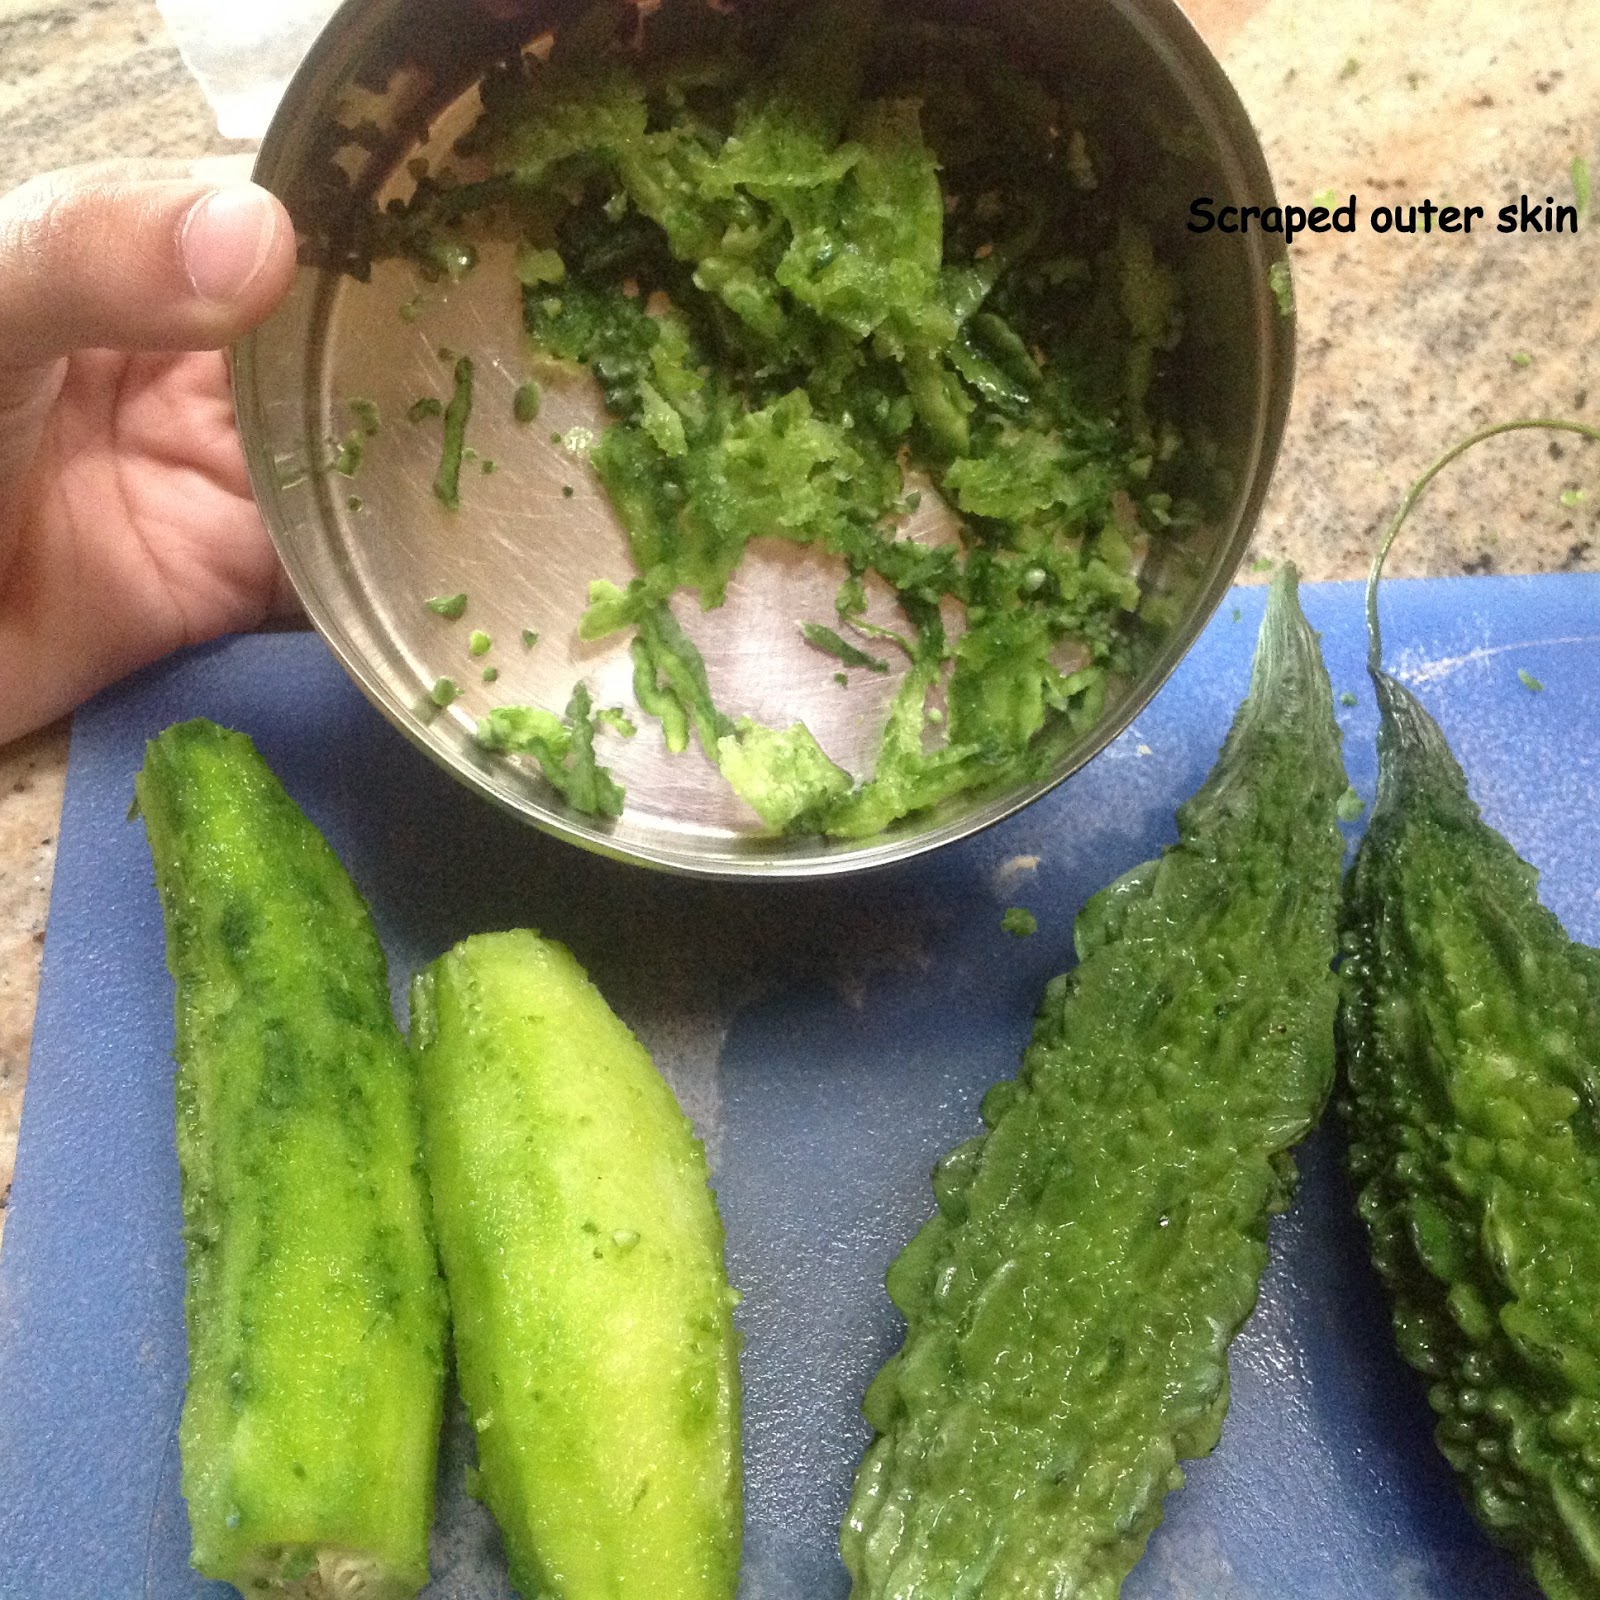
It takes a little time as they are multiple steps ( marinate the karela, make the stuffing, stuff the karela and then cook it), but it is well worth it.  Scraping the karela was a new technique to me and the scarppings are used to stuff the karela. how cool is that? I loved the stuffing that I helped myself for few generous spoons.

My husband and I really liked the karela cooked this way. My kids were not brave enough to try this yet!

Get Ready ( Serves 2- 4)


  • 4 small Karela/ Pagakkai/ bitter melon
  • 1 Tbsp salt
  • 1 Tbsp lemon juice
  • 1 tsp tamarind paste ( optional)


For the stuffing


  • 3-4 Tbsp oil
  • 1 tsp cumin seeds
  • 1/2 tsp hing/ asafetida/ perungayam
  • 2 Tbsp gram flour/ kadalai mavu
  • 1 Tbsp fennel seeds powder/ saunf powder/ sombu powder
  • 1 Tbsp coriander powder
  • 1/2 tsp turmeric powder
  •  salt to taste
  • 2 Tbsp Amchoor powder
  • 1 tsp red chilli powder ( as per taste)
white thread to wrap the karela.

Go:

  • Wash the karelas and scrape the outside ridge like part. Collect the scrapings and set aside.

  • Make a lengthwise slit on the karelas, without cutting it completely in half. remove the flesh and seeds from inside and discard them.

  • In a wide bowl add the karela, sprinkle them with generous amount of salt outside and inside the slit.
  • Mix the lemon juice and tamarind paste well. pour 3/4 th of it all over the karela outside and inside.
  • Add the scrapings to a bowl and marinate the same way with salt, lemon juice and tamarind paste.
  • Set aside to marinate for an hour.
  • After an hour, squeeze all the water out of the whole karela and the scrapings. Wash the karelas in water set aside. keep the marinated karela scrapings aside too.

Prepare the stuffing.

  • In a pan, add 2 tsp of oil. Once hot add the cumin seeds and let it crackle. add the asafetida.
  • Add the marinated scraping of karela and fry for a minute.

  •  Add the gram flour/ kadalai mavu to this and fry for a minute till the raw smell goes away.

  •  Now add the fennel seed powder, coriander powder, turmeric powder, red chilli and amchoor powder and mix everything well.

  •  fry for a minute, turn the heat off and set aside.The stuffing for karelas is ready.

Cook the karelas

  • Once the stuffing in cool to handle, fill them inside the karelas that have been marinated and slit. 

  • Wrap the stuffed karelas with a thread. Just a simple wrap, no need to tie a knot etc. This helps to hold the stuffing inside while cooking.

  • In a wide pan, add 1 Tbsp of oil, place the stuffed karelas, sprinkle some salt.


  •  Cover the pan and cook for 2 mins on medium heat

  • Flip the karelas so that all the sides are getting cooked, by keeping them covered for a few mins and opening them. if the bottom is getting dry add oil little by little.
  • You will have some more stuffing left. Sprinkle it on top of the karelas, add a little water, cover and cook on low heat till all sides of karelas are done.
  • Once they are done, open the lid and cook till the karelas are soft and the filling is roasted.


Serve with rice, rasam, samabar or eat it like that. The addition of saunf and amchoor takes away the bitterness so well and it tastes wonderful. Remember to take the thread away before eating.

Other variations:

You can add some onions, garlic. ginger to the stuffing as well.

Enjoy!


Thursday, March 10, 2016

Moong Dal with Dill leaves


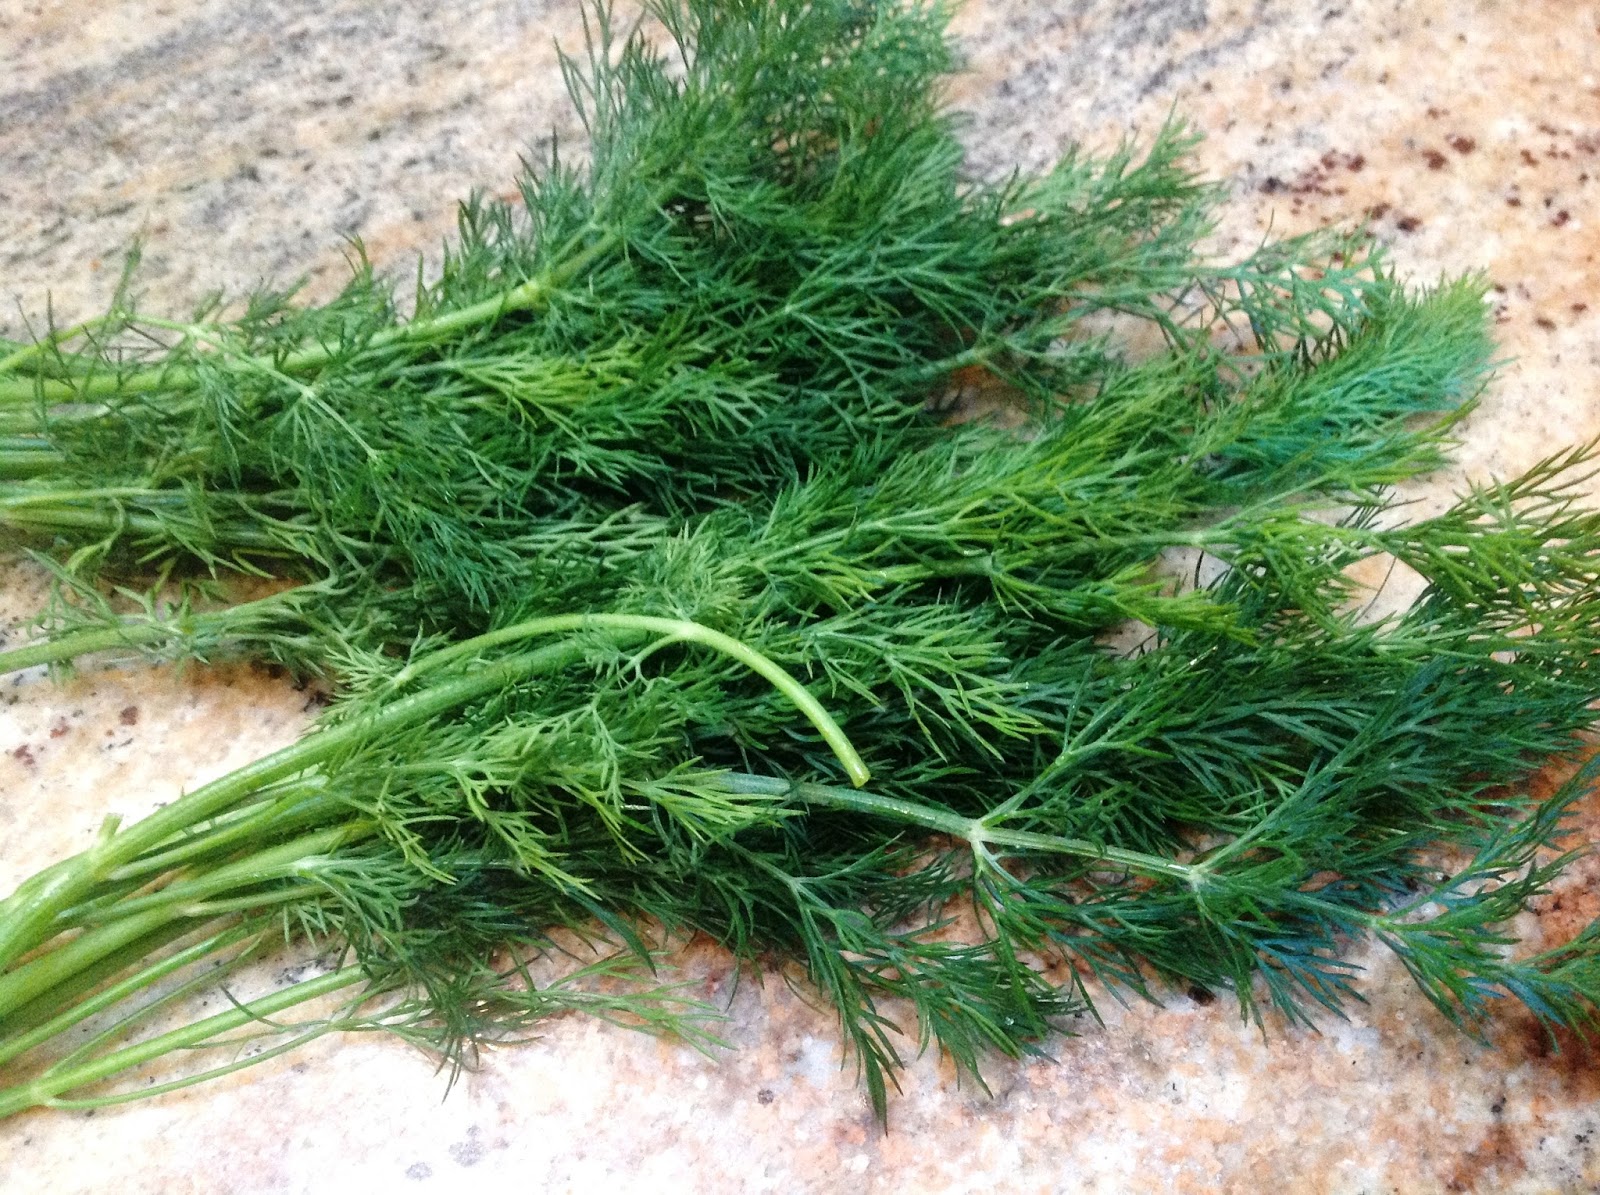
Dill is a herb that I have not cooked with at all. It has an earthy, lemony fragrance. I have tasted in dips served at parties. I read online that it could be one herb either you love it or hate it. Recently one of my friends had used dill in vada and it tasted pretty good. So, I thought let me try it with moong dal, as it is one easy dish that you cannot go wrong.

My family loved it and I will be using it again in my cooking.

I have never seen this in Tamil Nadu, however my kannada and marathi neighbors seem to use it a lot!

So, here is the recipe. I used a pressure cooker, but you can cook in a pan as well. It just takes a little more time.

Get Ready:


  • 1/2 cup moong dal ( yellow spilt one) wash and soak in water for 20 mins
  • 1/2 bunch of Dill leaves, washed, stem separated and chopped
  • 1 green chilli slit
  • 1 tsp chopped ginger
  • 1 medium onion finely chopped
  • 1 medium roma tomato chopped
  • 1/2 tsp turmeric powder
  • 1-1/2 tsp salt or to taste
  • 1/2 tsp sambar powder
  • 1/2 tsp garam masala powder
  • 1/4 tsp sugar ( optional)
  • 1 tsp Lemon juice 
  • 1-2 cups of water


For tempering:


  • 1 tsp oil
  • 1 tsp ghee
  • 1/2 tsp cumin seeds
  • A pinch of hing
Go:


  • In a small pressure cooker/ pan add the oil, ghee.

  • Once hot, add the cumin seeds and let them crackle. Add the hing and saute for few secs.
  • Add the onion, tomatoes,ginger, green chilli and fry till the onions are transparent.

  • Add the chopped dill leaves and fry for a 1-2 mins.

  • Add the dal, turmeric powder, 1 cup of water, salt to taste, sambar powder and mix.


  • Cover the cooker and cook for 2-3 whistles.
  • Once cool, open the pressure cooker. mash the daal with the back of your spoon.
  • Check salt and adjust accordingly.
  • If dal is too thick,add water to your desired consistency. I added 1 cup more.
  • Turn the heat on and let it come to a boil. 
  • As it comes to a boil, add the garam masala powder and switch off the flame.
  • Squeeze the lemon juice and mix.


Serve with phulkas with a drop of ghee on top and it tastes wonderful and so comforting.
Adding a bit of sugar and lemon juice brings out a great flavor to the simple dal.

Thursday, February 18, 2016

Chilli Paneer ( dry variety)


Some of my girl friends recently had a get together to celebrate our participation in a half marathon. My friend who hosted the party had made Chilli Paneer as an appetizer. It was very tasty and my friend told me the recipe is super easy. She is an excellent cook by the way and all the dishes she had prepared that evening were absolutely delicious.

I made the same dish on Valentine's day and my family absolutely loved it. It is very easy to make and really does not have a recipe as such. You add more or less  ingredients depending on your taste preference. I had some  Paneer left over at home, about half a block that we get from the Indian stores here in USA and a few bell peppers. I did not have time to take pictures while cooking and the final product was captured with my i phone to share with my friends.

Get Ready ( serves 2-3)

  • Paneer cut into 3-4 inch pieces
  • Bell pepper cut into the same size as paneer ( I used green and red)
  • Green chilli 3 slit length wise
  • 1 small shallot thinly sliced
  • Tomato ketchup as per taste
  • Siracha sauce as per taste ( or any hot sauce)
  • salt to taste 
  • Sunflower oil 2 tbsp
  • Cilantro to garnish ( optional)
Go:

  • In a large pan, add the oil. keep heat on high
  • Add the onions, green chilli, paneer, bell peppers and saute on high flame fast, tossing the mover
  • Add salt to taste.
  • Saute the paneer and veggies till the peppers are crunchy but not too soft. It takes about 3-5 mins.
  • Add a squirt of tomato ketchup and siracha sauce and adjust both the sauces as per your taste.
  • Toss all of them to coat the paneer and peppers on high flame.
  • Turn off the heat and serve hot., Garnish with cilantro before serving.

Yummy Chilli paneer ready to be served as an appetizer or as a side dish with rice.

Tuesday, December 8, 2015

Paneer Butter Masala ( Restaurant Style)


Paneer Butter Masala, a very popular dish for "Naan Bread" and other rice dishes all over the globe. It is pretty rich and comforting to eat on a cold day. I have adapted the recipe from Chef Harpal Singh . I recently made this for a potluck party and was enjoyed avidly by all. It is not hard to make at all. The amount that I have blogged will serve about 15 people, but you can always halve the recipe.

The butter and the cashews in the dish gives the extra creamy silky texture for the dish. I used the canned tomato sauce as i was making for a larger crowd.

Get Ready: ( serves 15)


  • 1 package of paneer ( 16 oz, available at most Indian stores in the US)
  • 2.5 large roma tomatoes cut into medium sized chunks ( they can be big chunks as it will be blended)
  • 1 large onion sliced
  • 1 large red chilli
  • 1 tbsp chopped ginger
  • 1 tsp crushed garlic ( optional)
  • 1 8oz can of tomato sauce
  • 1/2 cup cashews soaked in warm water
  • 1/4 cup half and half or cream
  • 2 tbsp butter
  • 1 tbsp oil
  • 2 tsp cumin seeds
  • 1 tbsp Kasoori methi, dry roasted
  • 2 tsp red chilli powder
  • 1 tbsp honey ( optional)
  •  salt to taste


Go:


  • Keep the Paneer at room temperature and cut them into desired shapes. I cut them as medium thin long rectangles. Add boiling water to the paneer and let them soak for few mins. This makes them very soft as we don't get fresh ones here. if you make paneer at home skip this step.


  • Soak the cashews in warm water for 30 mins
  • In a pan, add a little oil and saute the onions, red chilli,  chopped tomatoes, ginger and garlic till the onions are translucent and the raw smell of garlic goes away.


  • Once cooled, add the soaked cashews to the sauted onion and tomato mix and blend into a smooth paste. Set aside.
  • In a pan add the butter and little oil ( learnt that this helps to prevent the butter from burning).  let the butter melt. Add the cumin seeds and let them sizzle.


  • Now add the blended cashew onion mixture and the canned tomato sauce.

  • Cover your pan, as it starts boiling, otherwise you have to clean all the red tomato splashes.
  • Add the red chilli powder, salt to taste, cover and cook stirring in between till the oil starts to separate at the sides.


  • Check for salt and other spices. cover and let it cook on low flame for a few mins
  • Crush the kasoori methi between your palms and add it to the gravy. Add the honey.
  • Drain the water from the paneer and add the paneer to the gravy.


  • Toss them all gently, adjust salt as needed and cover the pan.
  • Cook for a few mins on very low heat.
  •  Add half and half or cream to the desired consistency of your gravy.

Transfer to a bowl and enjoy with naan, chapathi or pulav.